
Raised Garden Beds: Building One Without Breaking the Budget

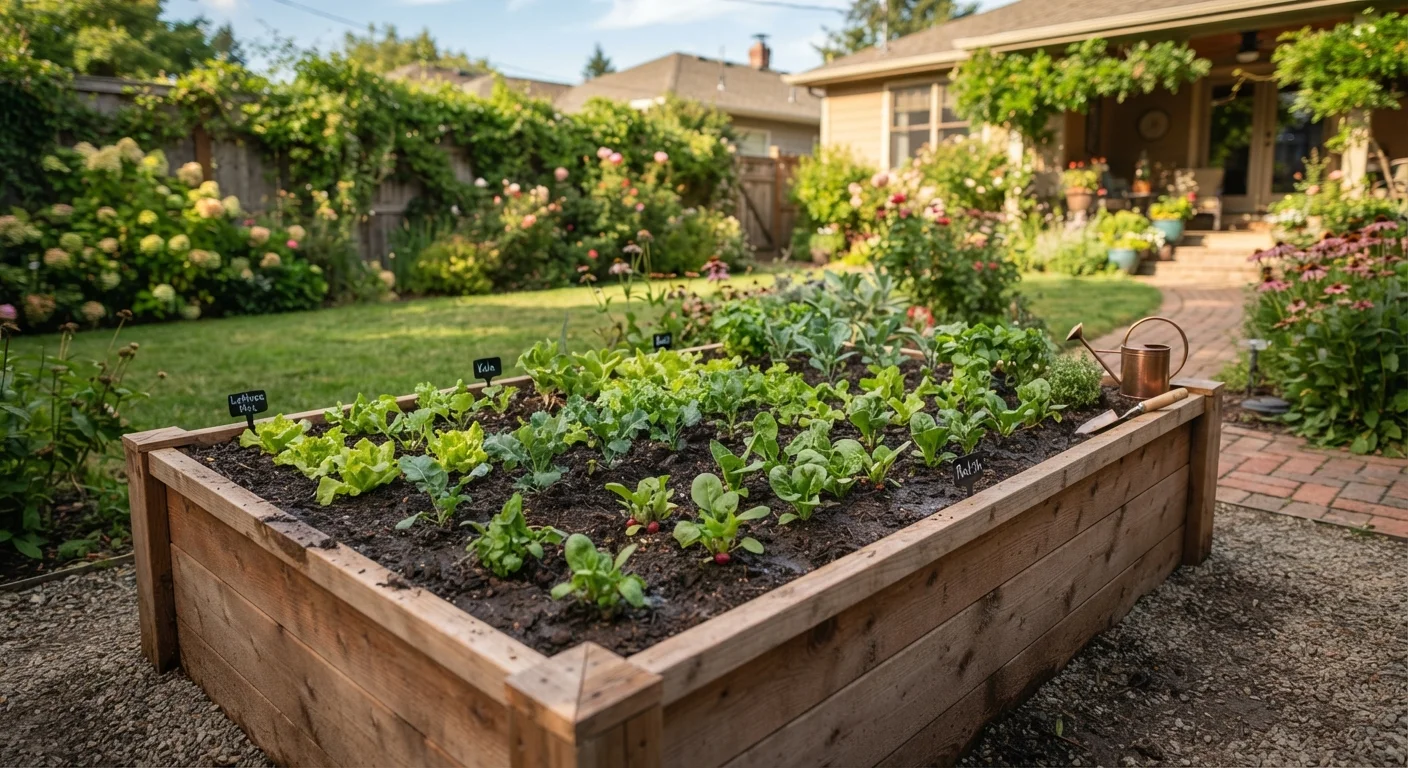
Photo: usewiseguide.com editorial
Key Takeaways
- Untreated pine or cedar lumber is the most widely available low-cost framing option for raised beds.
- A 4x8 foot bed is the most practical size for beginners and uses standard lumber lengths efficiently.
- Mixing compost, topsoil, and a coarse material like perlite keeps soil costs manageable without sacrificing quality.
- Salvaged materials such as bricks, cinder blocks, or reclaimed wood can reduce total build costs significantly.
- Proper site selection and weed barrier placement prevent expensive soil loss and replanting later.
Why raised beds make sense on a tight budget
A raised garden bed concentrates your investment in a small, defined area. Instead of amending an entire yard, you improve only the soil your plants actually use. That focus reduces waste and makes it practical to grow vegetables, herbs, or flowers even in yards with poor native soil, compacted clay, or drainage problems.
The build itself does not require specialized skills. Most families with a measuring tape, a saw, and a drill can complete a basic 4x8 foot frame in a single afternoon. If you are already thinking about ways to stretch your home improvement budget, the same discipline that helps with indoor spaces applies here. Our guide to decorating on a tight budget covers the same spend-vs-save logic for interior projects.
Once the bed is producing, it pairs well with low-cost growing strategies. Herbs started from seed in a raised bed, for example, complement the low-maintenance indoor plants approach by giving you an outdoor source of fresh material at minimal cost.
What you will need
Choosing materials without overspending
Lumber is the most common framing choice. Untreated pine is the least expensive option and will last three to five years before significant decay. Cedar costs more upfront but resists rot for a decade or longer, which reduces replacement costs over time. Avoid pressure-treated lumber rated for ground contact in any bed where food crops will grow, because older formulations contained preservatives that can leach into soil.
Cinder blocks and bricks are genuine alternatives if you have salvaged stock or if a neighbor is clearing a patio. They need no fasteners, stack quickly, and last indefinitely. Reclaimed wood from pallets can work, but check that the pallet carries an HT (heat-treated) stamp rather than an MB (methyl bromide) stamp; MB-treated wood is not safe for food gardens.
Hardware is a small line item: 3-inch exterior screws hold lumber corners reliably without corner brackets. A staple gun and landscape fabric for the base cost a few dollars and block weeds without preventing drainage.
Circular saw or handsaw
Cuts lumber boards to the exact lengths needed for the frame.
Drill with driver bit
Drives exterior screws through corner boards to assemble the frame.
3-inch exterior screws
Fastens lumber corners securely against soil pressure and moisture.
Landscape fabric or hardware cloth
Lines the base of the bed to suppress weeds and deter burrowing pests.
Staple gun
Secures landscape fabric or hardware cloth to the inside of the frame.
Level
Checks that the frame sits flat so water distributes evenly across the bed.
Wheelbarrow or tarp
Holds and mixes bulk soil, compost, and perlite before filling the bed.
Building the frame: step by step
The steps below cover a standard 4x8 foot bed at a depth of 10 to 12 inches, which is deep enough for most vegetables. Adjust dimensions as needed, but keep the width at 4 feet or less so you can reach the center without stepping inside the bed.
Cut lumber to length
For a 4x8 foot frame using 2x10 or 2x12 boards, cut two boards at 8 feet and two boards at 3 feet 9 inches. The shorter boards fit between the long ones at each end, so the outside dimensions reach 4 feet once assembled. Many hardware stores will make these cuts at no extra cost if you buy the lumber there.
Mark and pre-drill screw holes
Stand the short end boards vertically against the inside faces of the long side boards at each corner. Mark two screw positions near the top and two near the bottom on each corner. Pre-drilling prevents the wood from splitting, which is common with dry pine.
Assemble the frame on a flat surface
Drive 3-inch exterior screws through the pre-drilled holes in the long boards into the end boards. Check that the corners are square by measuring diagonally from corner to corner in both directions; the two measurements should match within a quarter inch. Adjust before tightening screws fully.
Prepare the site
Choose a location with at least 6 hours of direct sun. Remove sod, rocks, or debris from the footprint. If gophers or voles are common in your area, lay hardware cloth (1/2-inch mesh) directly on the ground before placing the frame. Hardware cloth is more effective than landscape fabric against burrowing animals.
Set and level the frame
Place the assembled frame on the prepared area. Use a level across the top edge on all four sides. Where the ground slopes, remove soil from the high side or add a thin layer under the low side until the frame reads level. An unlevel bed causes water to pool at one end, which can rot wood and drown plant roots.
Staple landscape fabric to the base
Cut landscape fabric to overlap the inside bottom of the frame by 2 to 3 inches on each side. Fold the edges up and staple them to the inside face of the boards at 6-inch intervals. This layer blocks weed growth through the bed floor without preventing water drainage.
Fill and settle the soil
Add your soil mix in layers of about 4 to 5 inches at a time. Water each layer lightly before adding the next; this helps the mix settle and removes large air pockets. Fill to within 1 inch of the top edge so water does not spill soil out during irrigation. The mix will settle another inch or two after the first season, so you can top it off with compost the following spring.
Filling the bed without paying for premium mixes
Bagged garden soil sold as a complete raised-bed mix is convenient but carries a significant markup. A workable alternative is to combine three parts topsoil, two parts compost, and one part coarse perlite or coarse builder's sand. Municipal compost programs in many US cities sell finished compost by the cubic yard at costs well below retail bags. Call your local public works department to check availability.
For a 4x8 foot bed at 10 inches deep, you need roughly 26 to 27 cubic feet of fill. One cubic yard (27 cubic feet) is the typical minimum order for bulk delivery, which often costs less per cubic foot than bags. If you cannot use a full yard, coordinate with a neighbor to split an order.
Avoid filling entirely with straight topsoil. It compacts over time, reducing drainage and root penetration. The compost component feeds plants and keeps structure open; the perlite or sand maintains air pockets even after watering.
The content provided on our blog site traverses numerous categories, offering readers valuable and practical information. Readers can use the editorial team’s research and data to gain more insights into their topics of interest. However, they are requested not to treat the articles as conclusive. The website team cannot be held responsible for differences in data or inaccuracies found across other platforms. Please also note that the site might also miss out on various schemes and offers available that the readers may find more beneficial than the ones we cover.